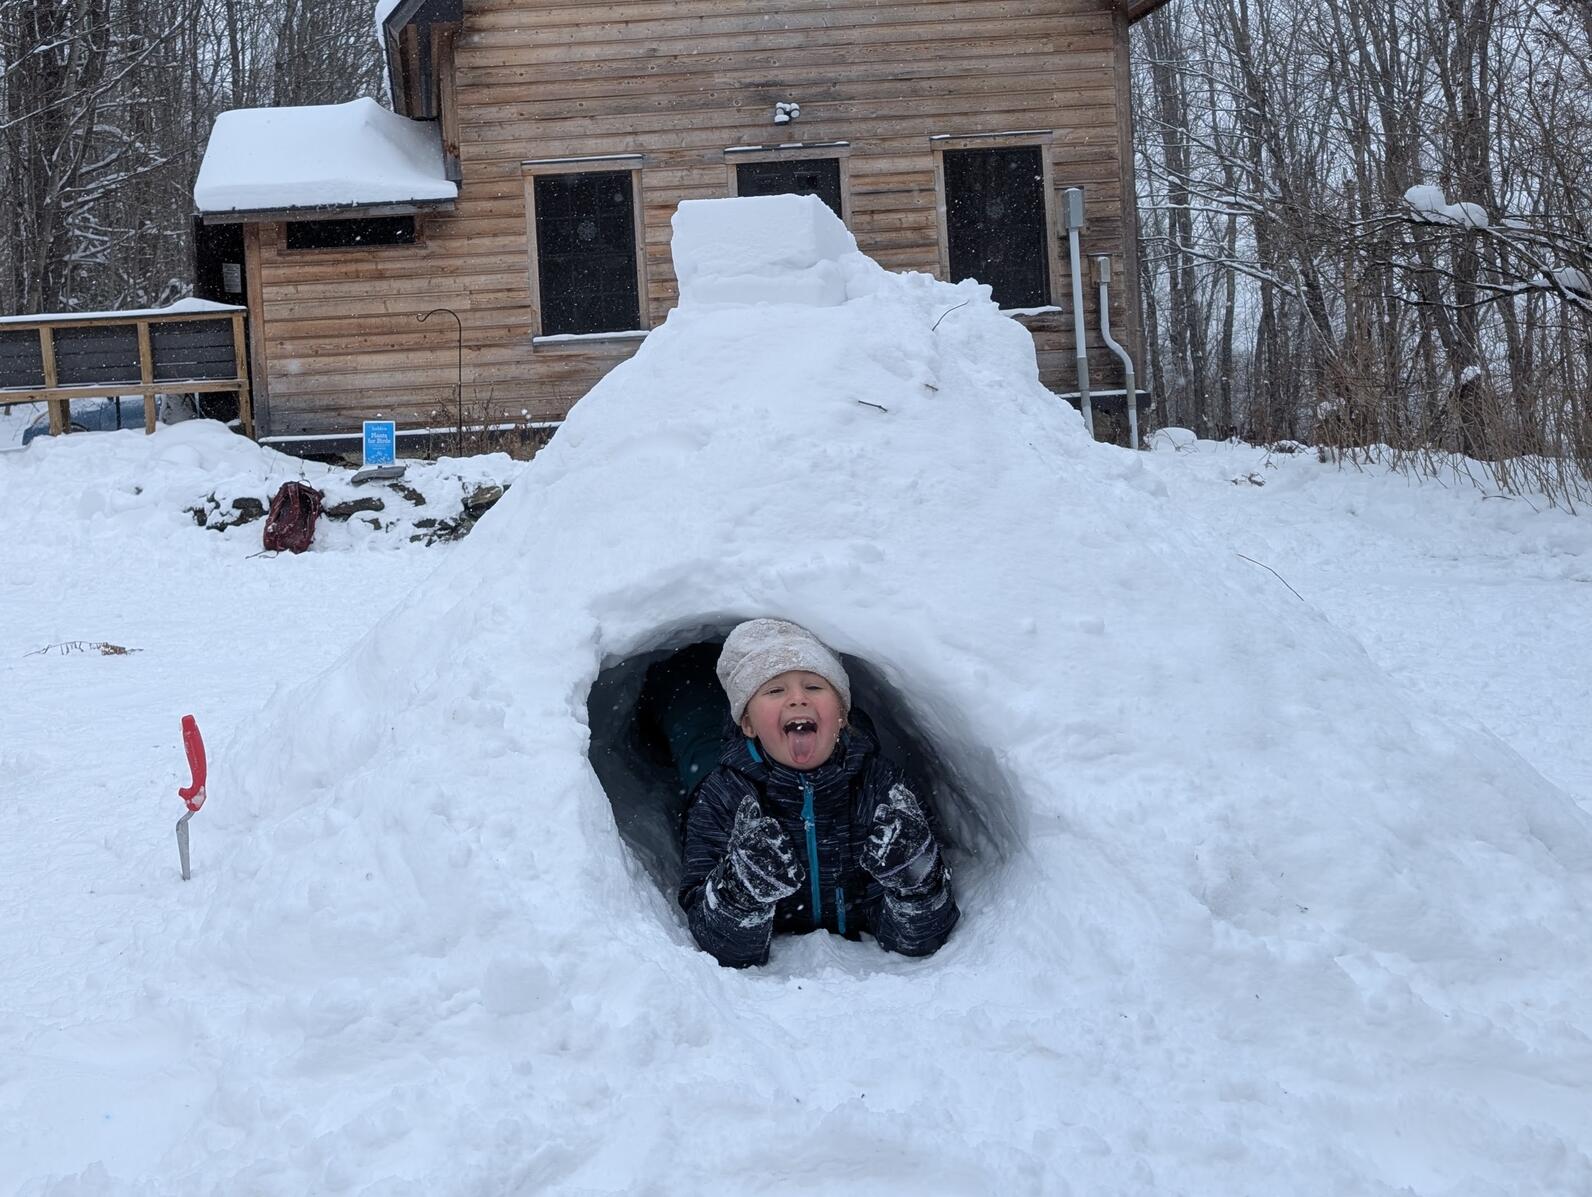
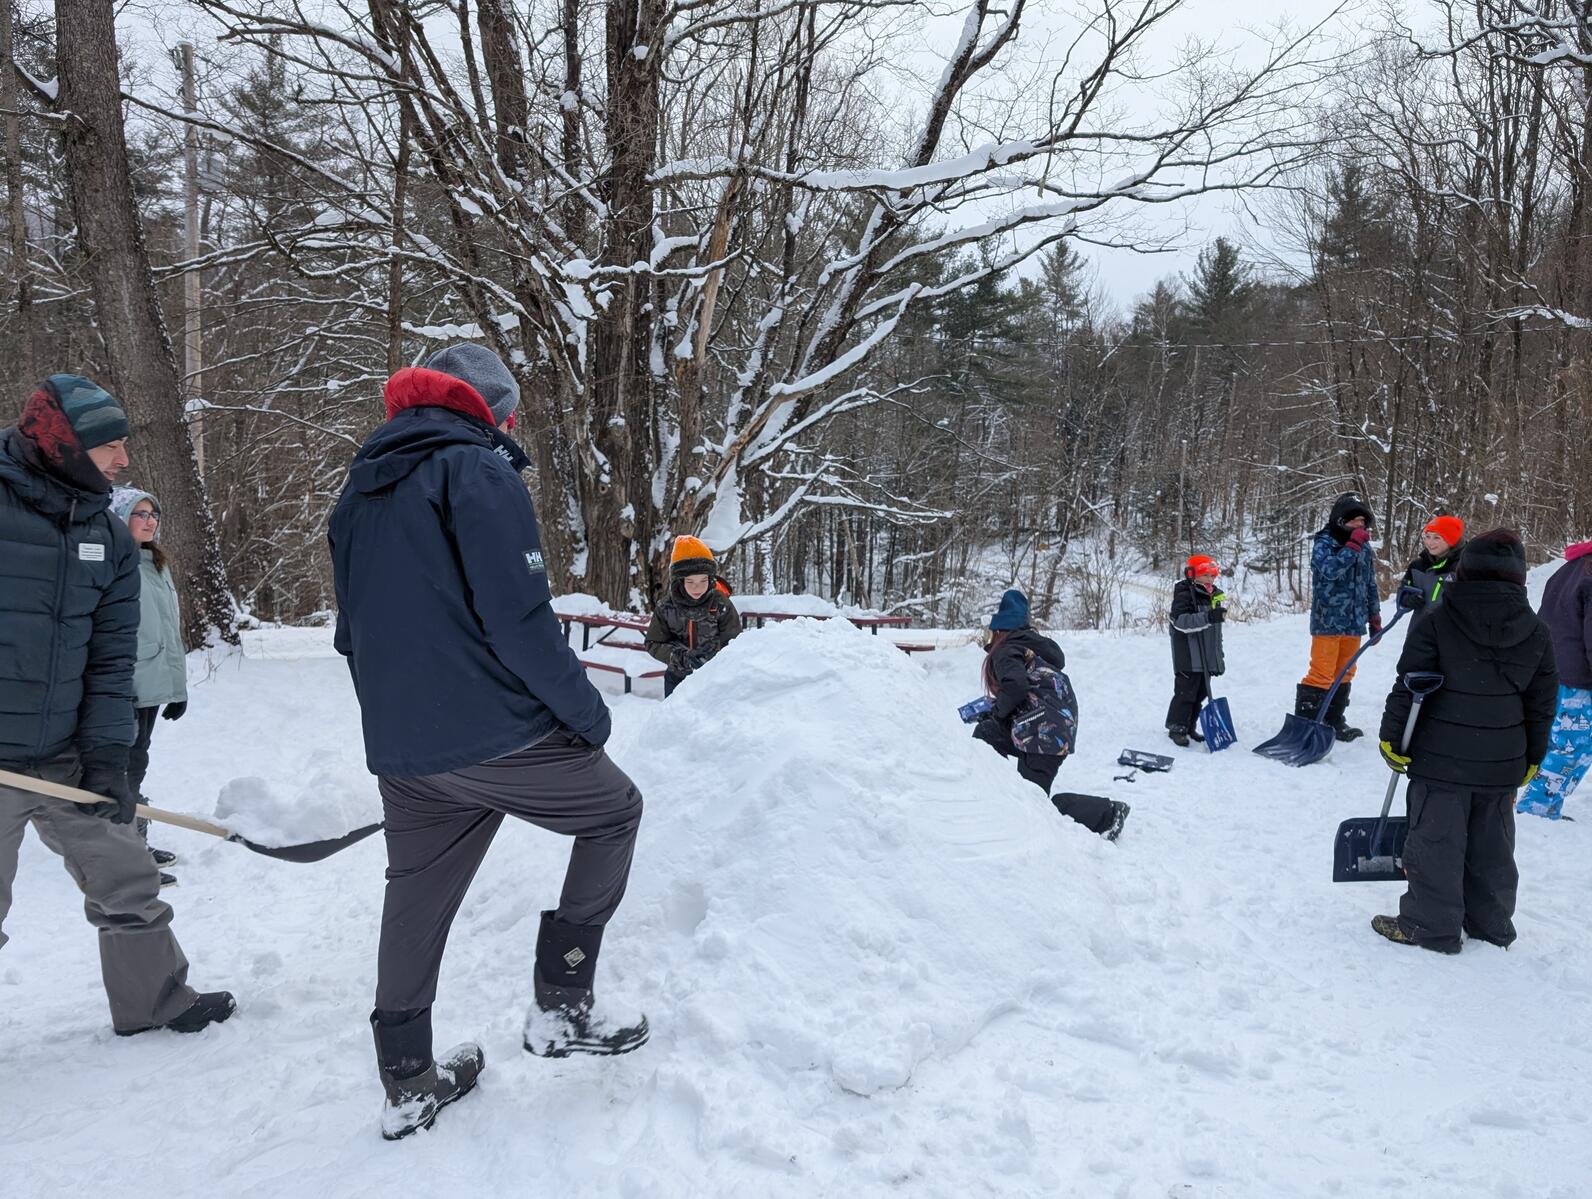
Last week at UnSchool we learned about how to stay warm in the winter. The day started with almost a foot of snow on the ground, the perfect conditions to build a quinzhee. A quinzhee is a type of snow shelter made by piling up then digging out snow. We gathered as many shovels and large plastic bins as we could find and made a large pile of snow in the middle of the front yard as everyone arrived. Kids worked together, scooping and dumping, and before we knew it the pile was as tall as them. We let the pile sit so it could sinter. This is a process, taking several hours, where the broken snow crystals settle together into a solid mound. Snow is made of water and air. It is the microscopic pockets of air between the ice crystals that make snow an excellent insulator. This packed snow also blocks wind and protects quinzhee occupants from snowfall. While we waited, we continued with our day.
It was during our morning meeting that we introduced our first lesson about warmth. When we are outside in the cold it is important to look out for ourselves. Little things like adding layers, drinking water, moving our bodies, and eating food can help us stay warm. Even removing layers as we get warm is important to keep from sweating. When we sweat in the winter and then stop moving, the sweat cools and makes our base layers damp, making us uncomfortably cold. Taking short breaks indoors can also be beneficial as we are getting more used to these cold temperatures. And with that, we went inside to warm up and eat snack.
After snack, the students explored layering by dressing a small bag of warm water with fabric scraps, plastic bags and recycling. They then found a place to leave their bundle outside where it would keep it warm. Some people left theirs on the floor of the porch while others buried theirs in a snowbank or rested it on the ground near the building. We left one baggie out and exposed on the porch railing as a control for our experiment. The temperature for all the bags started at 100°F.
Once everyone was done setting up their experiment, we discussed what layers people need when we are outside in the cold. We came up with a list: Socks, boots, bottom base layer, shell pants, top base layer, warm top, shell top, neck warmer, hat, and mittens. Dressing in layers helps trap your heat while also keeping you cool. Dressing in layers allows you to shed and add layers as needed to regulate temperature while being active outdoors. It takes practice to learn what layers are right for you in what weather and for what activity level.
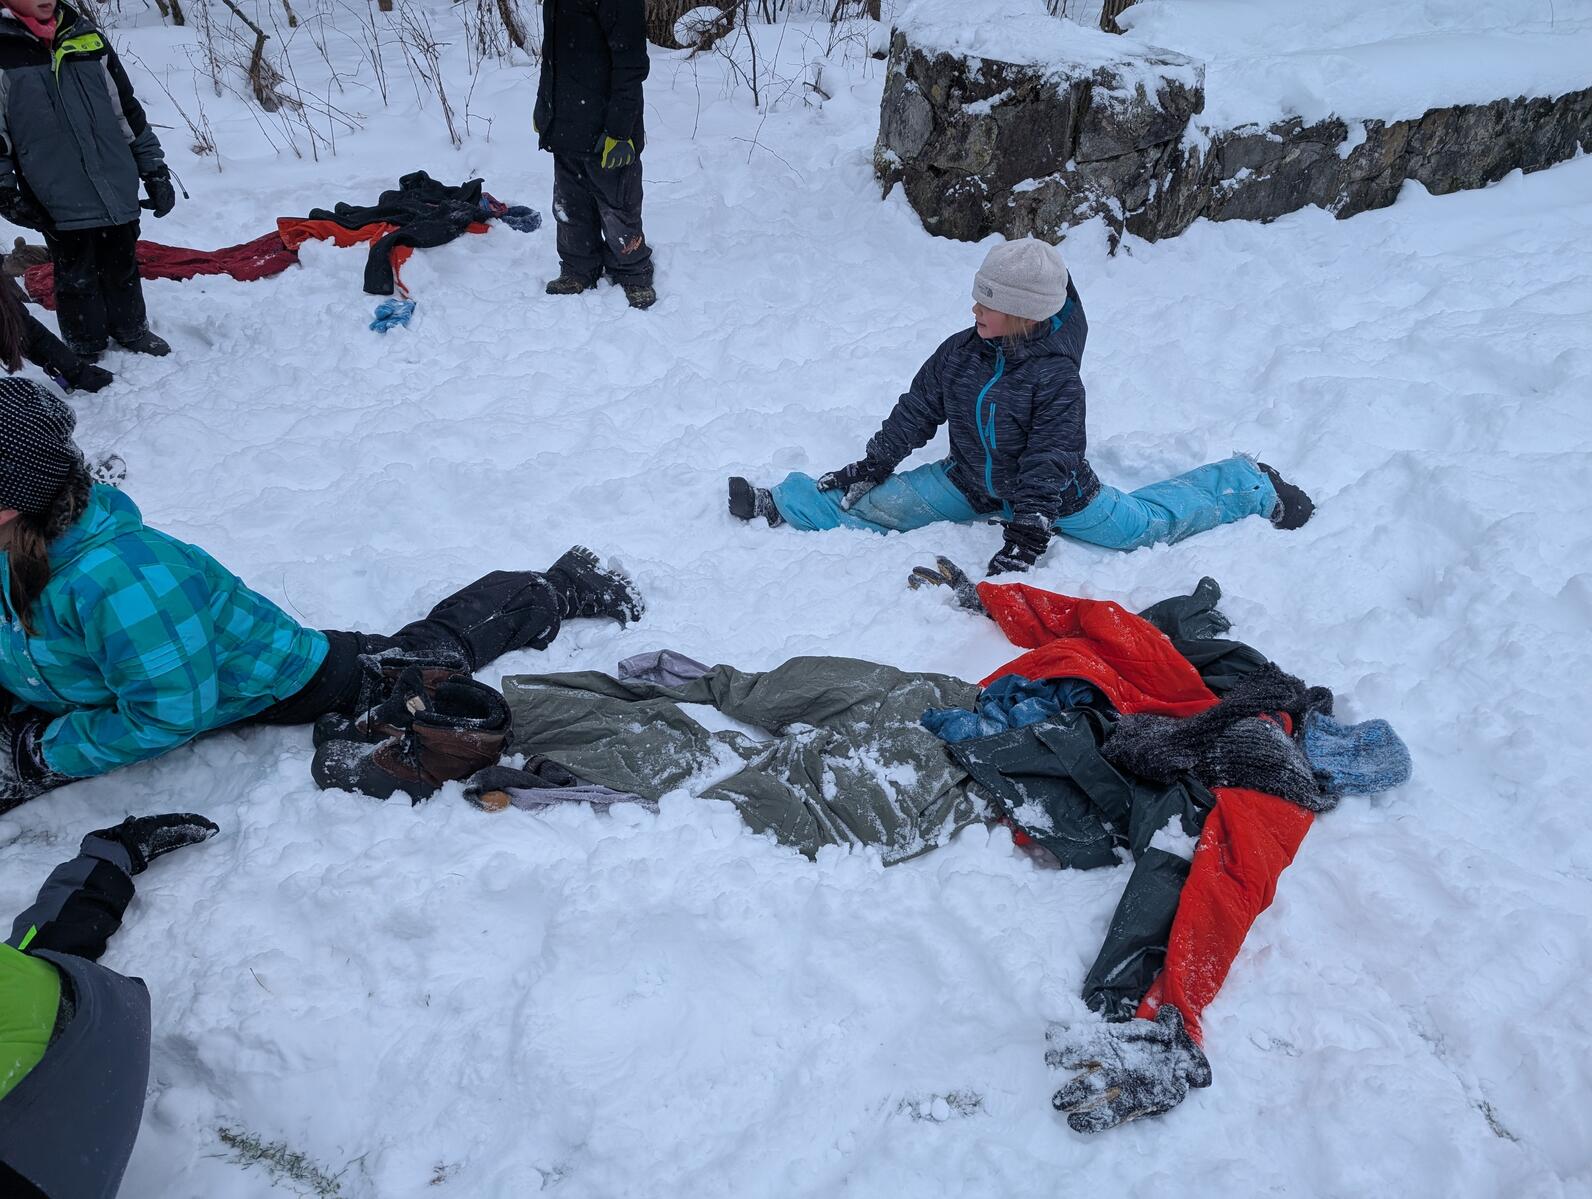
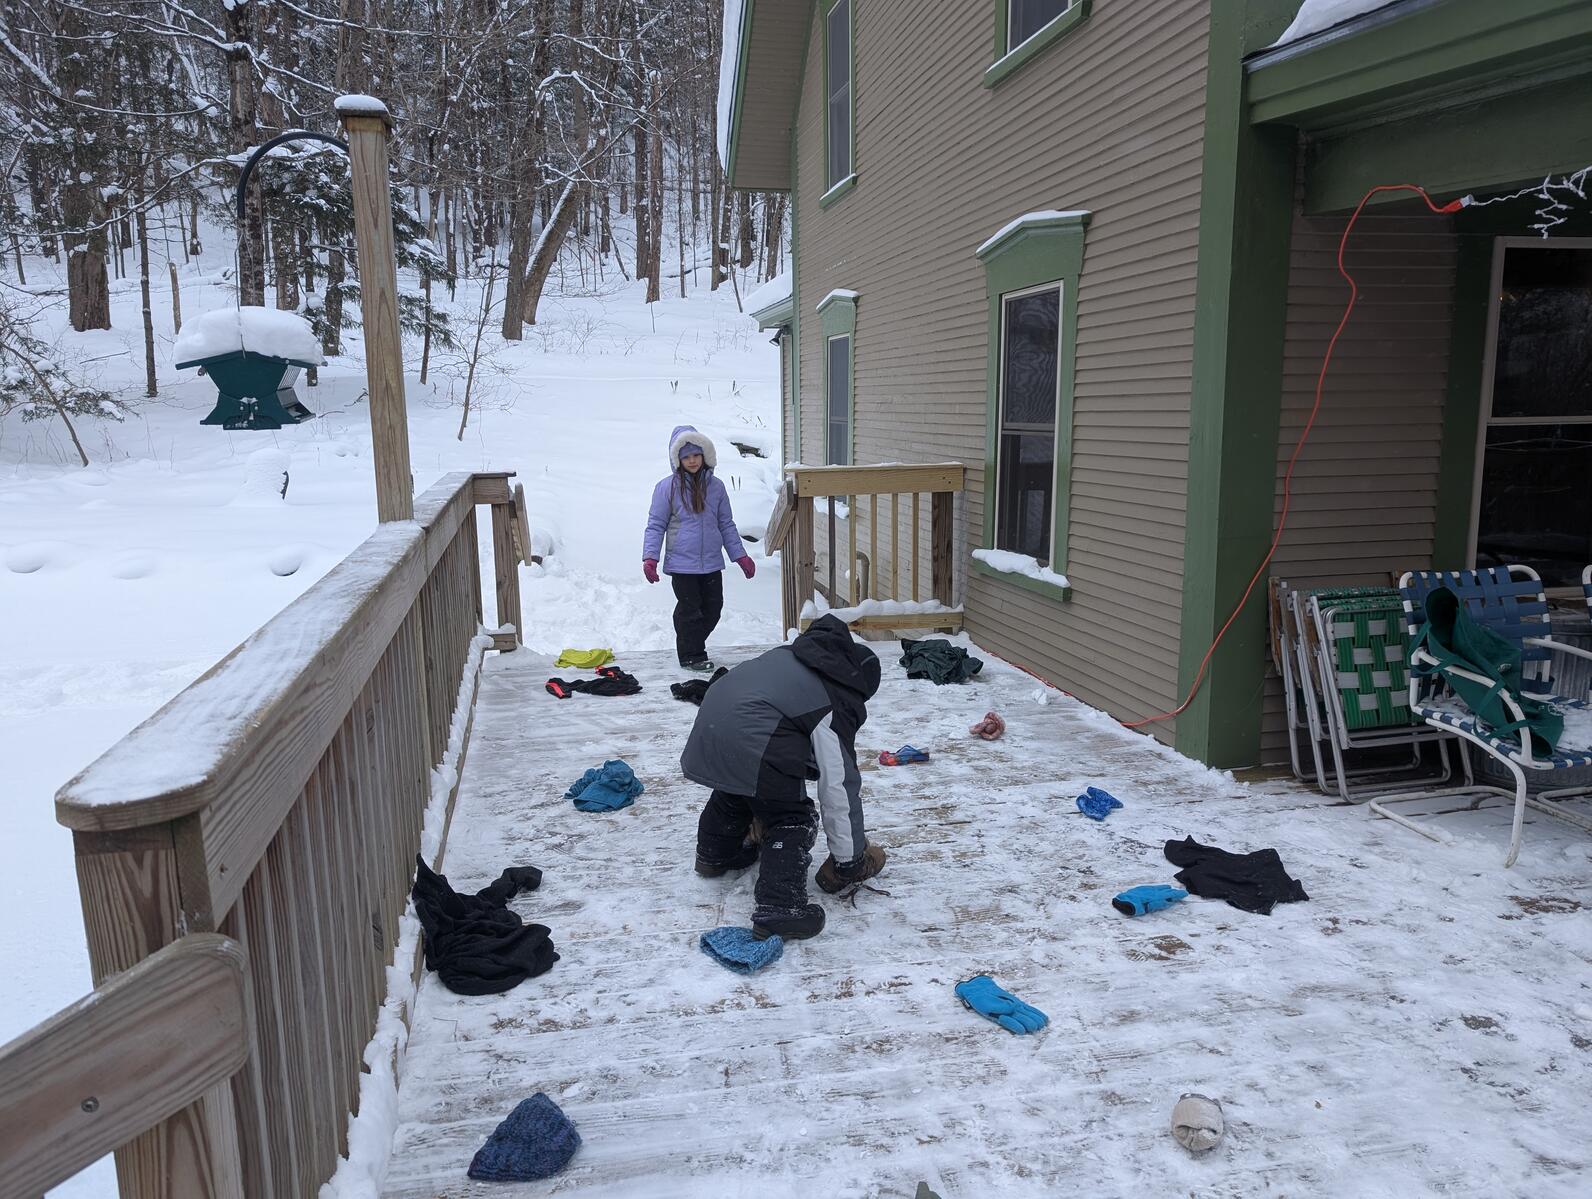
The group split into teams for a layering relay. On the porch we spread out all sorts of clothes that people might wear in the winter. Each team sent one person at a time running across the snowfield to grab a layer and bring it back to build their person in the snow. The students kept their own bodies warm by running, while working together as a team to collect everything they needed. Once done, they had all the outline of a well-prepared person in the snow. Being prepared is the first step to a successful day outside in the winter. Now that everyone was warm, we spent another 30 minutes outside playing in the snow in the woods by Forest Camp. Once bodies started getting cold and hungry again, we collected our layering experiments and gathered inside for warmth.
All the students were able to keep the water in their bags between 30°F and 50°F, while the bag that was left out with no layers was below 20°F and had ice in it. This is a great experiment to try at home asking different questions: what if the warm water is left in a jacket pocket, how do different materials help insulate the water, what is the difference between keeping the bundle in the snow vs on top of the snow, how long does it take for the water to freeze when insulated vs not insulated? Another great winter experiment is to explore how animals stay warm with fat and blubber. This site explains how to do it: Blubber Experiment For Kids - Little Bins for Little Hands.
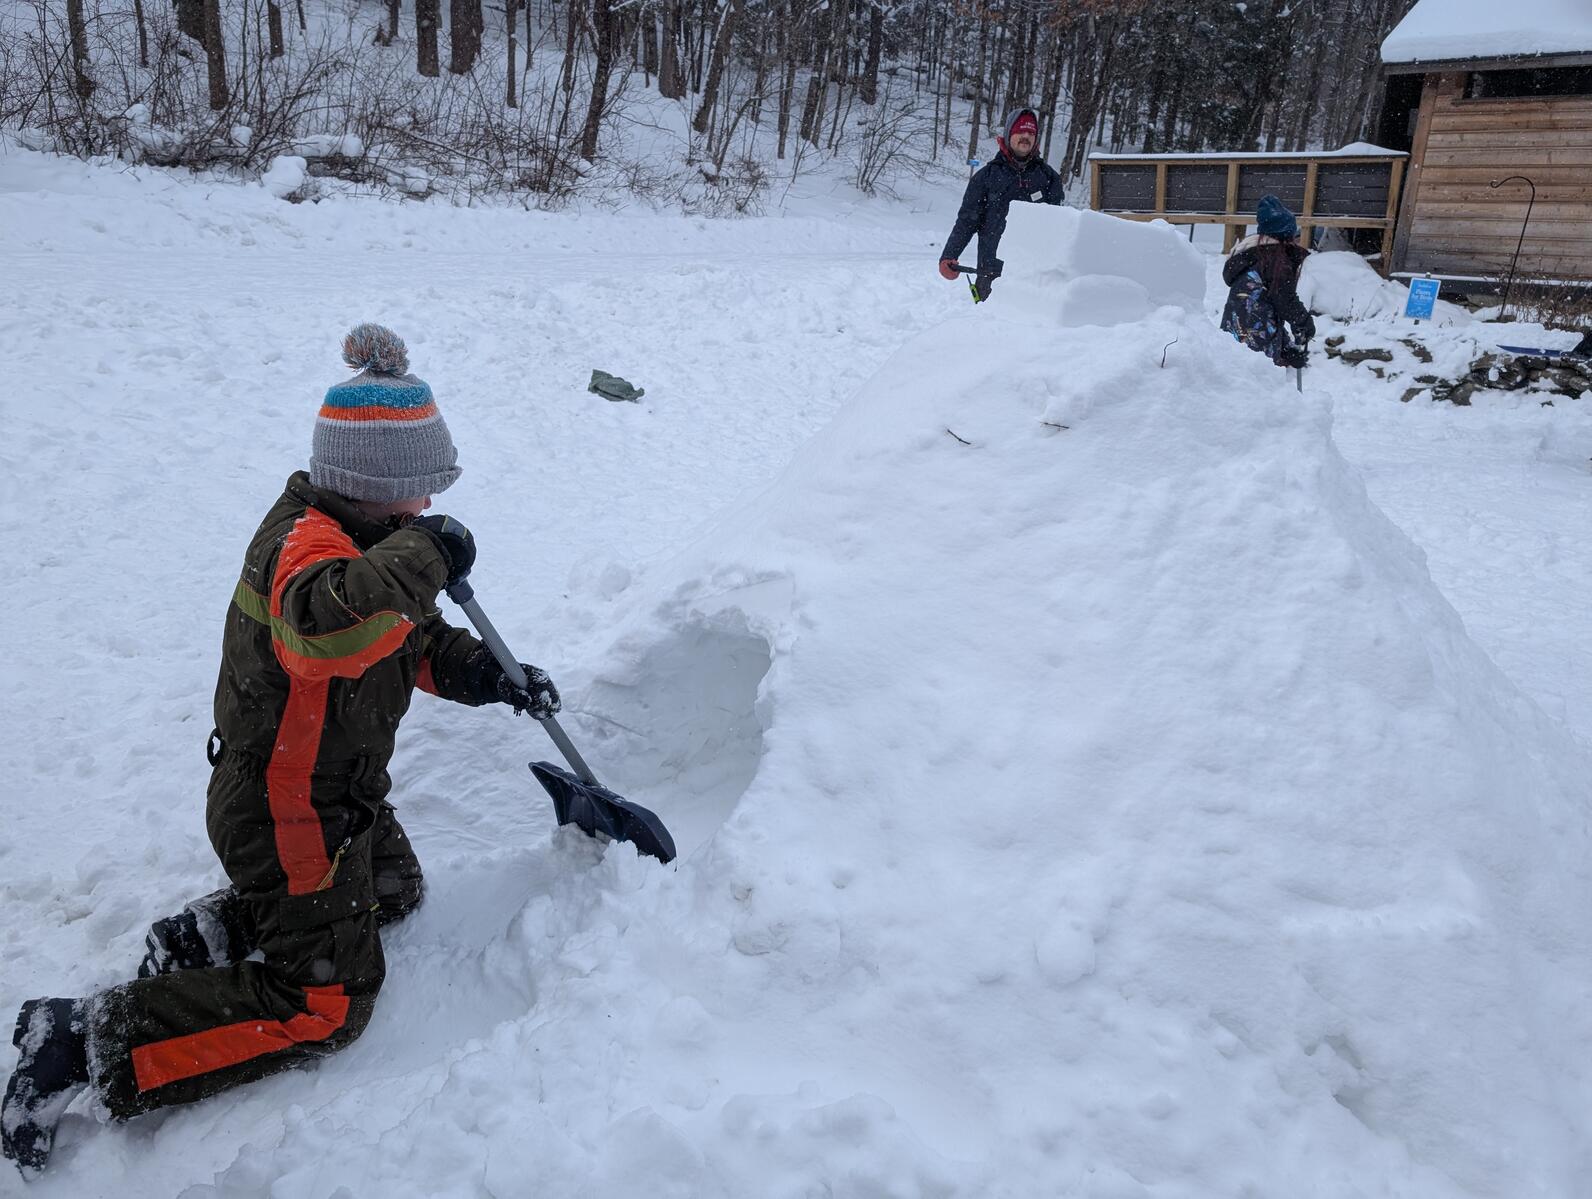
After lunch it was time to dig out our quinzhee. By this time the mound of snow we had made earlier had been sitting for several hours, long enough for the snow to sinter. Everyone took turns digging into the quinzhee until the tunnel was long enough for one person to lay in. We started with a small shovel to scrape down the inside walls and pull the snow out, then switched to a trowel as the space became tighter. If we had more time, the next step would have been to hollow the center of the quinzhee out to make a room and add an air hole for ventilation. You can read more about building quinzhees at these links and build one where you live! How To Build a Winter Snow Shelter, Building Snow Shelters: A Comprehensive Guide to Snow Caves and Quinzhees - Outdoor Doer.
